How to Install Maven on Windows 10
In this quick tutorial, we are going to highlight how to install Maven on Windows 10.
In short, Maven is a build automation and dependency management tool for Java based applications. To build a project, Maven uses its project object model (POM) and a set of plugins.
For this tutorial, I will be using:
JDK 8
Maven 3.8.6
Windows 10
Note: We have also written a nice article on how to install maven on mac. Feel free to check it.
Install JDK and Set up JAVA_HOME
The installation process of Apache Maven is quite simple, we just need to extract the Maven’s zip file and set up some environment variables.
However, Maven requires JDK to perform some important operations such as code compilation.
So, before installing Maven on Windows 10, we need to make sure that Java JDK is installed and the JAVA_HOME environment variable is properly configured on our machine.
Please refer to how to install on Windows 10 for more details.
Another important thing to keep in mind is that:
Apache Maven 3.3.1+ requires JDK 1.7 or above
Apache Maven 3.2.1->3.2.5 requires JDK 1.6
Apache Maven 2.2 to 3.1.1 requires JDK 1.5
Apache Maven 2.0 to 2.1 requires Java 1.4
We can type the following commands to check which JDK version is installed on our machine:
        C:\Users\Asus>echo %JAVA_HOME%
        C:\Program Files\Java\jdk1.8.0_261

        C:\Users\Asus>java -version
        java version "1.8.0_261"
        Java(TM) SE Runtime Environment (build 1.8.0_261-b12)
        Java HotSpot(TM) 64-Bit Server VM (build 25.261-b12, mixed mode)

        C:\Users\Asus>
As we can see, the installed version of JDK is 1.8.0_261.
Download Apache Maven for Windows
We can download Maven directly from the official website: https://maven.apache.org/download.cgi. Make sure to download the latest stable release which is now 3.8.6.
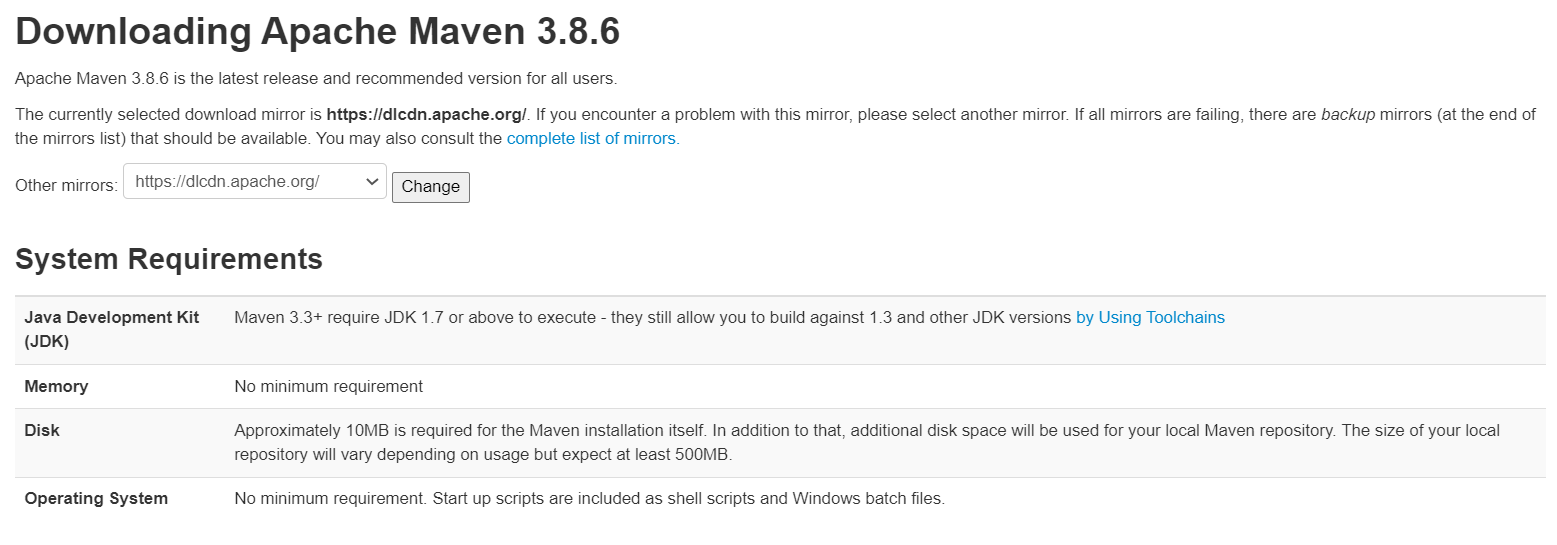
Install Apache Maven on Windows 10
Now, let’s download apache-maven-3.8.6-bin.zip and unzip it to a specific folder of our choice, for example: C:\Users\Asus\soft\apache-maven-3.8.6
That’s all, NO installation is required to work with Mvn. Cool, right?
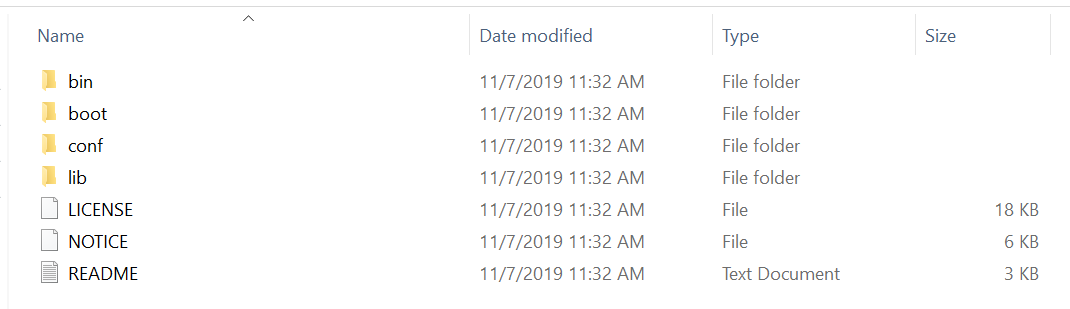
Now, let’s briefly explain what contains each directory:
bin contains all the batch and shell scripts that are necessary for Maven execution
boot contains all the tools required to start Maven
conf contains the basic configuration such as the default settings.xml file
lib, as the name implies, contains all the libraries and extensions used by Maven
Add MAVEN_HOME Environment Variable
The next step is to configure the MAVEN_HOME variable on Windows 10.
Since Maven 3.5.0, setting up MAVEN_HOME environment variable is optional. However, it is a good practice since many IDEs and tools use it to run Maven.
MAVEN_HOME should point to the folder where we extracted the Maven zip file, which is C:\Users\Asus\soft\apache-maven-3.8.6 in our case.
Follow these steps to add the MAVEN_HOME environment variable:
1- Type “edit” in the Window search box, then click on the “Edit the system environment variables”
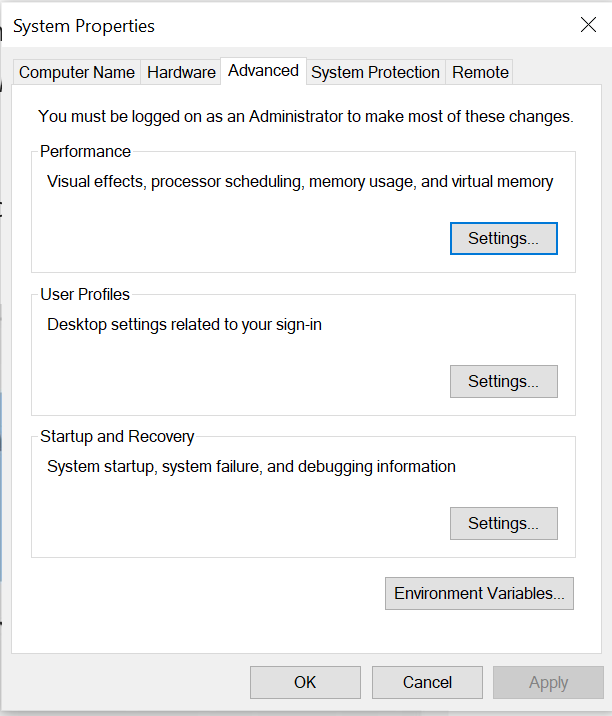
2- Next, select the “Environment Variables…” button
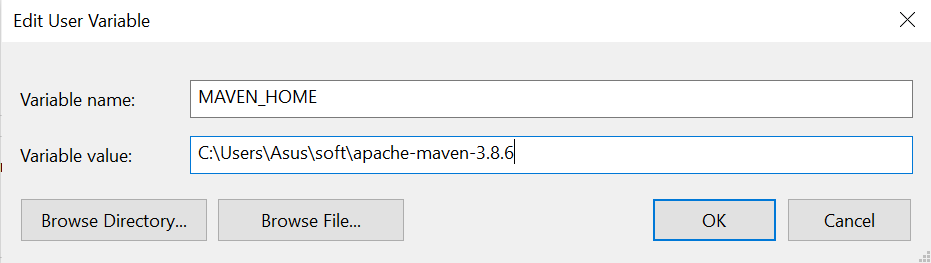
3- Click on the “New…” button and put MAVEN_HOME as variable name and C:\Users\Asus\soft\apache-maven-3.8.6 as variable value
Another way to set up MAVEN_HOME is to use command lines. To do so, open a new command prompt as administrator and type the following command:
        C:\Windows\system32>setx /M MAVEN_HOME "C:\Users\Asus\soft\apache-maven-3.8.6"
        SUCCESS: Specified value was saved.
Add %MAVEN_HOME%\bin to the PATH
Now let’s add the last missing piece of the puzzle. This step is very important to run the Mvn command everywhere directly from the command prompt.
To do so conveniently, we need to edit the PATH variable by appending the Maven bin folder %MAVEN_HOME%\bin.
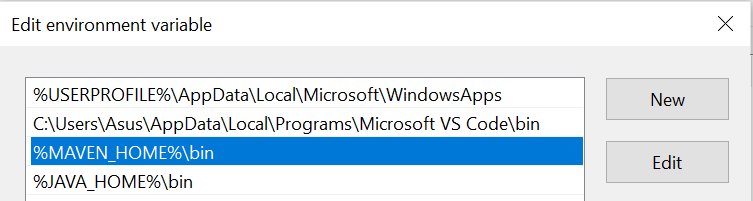
Once done, we can save the applied changes by clicking on the OK button.
Please bear in mind that we can accomplish the same thing using this command line:
C:\Windows\system32>setx /M PATH "%MAVEN_HOME%\bin;%PATH%"
Verify Mvn Installation
Now that we put all the pieces together, let’s test if Apache Maven is successfully installed on Windows 10.
To verify the installation, we run:
        C:\Users\Asus>mvn --version
        Apache Maven 3.8.6 (05c21c65bdfed0f71a2f2ada8b84da59348c4c5d)
        Maven home: C:\Users\Asus\soft\apache-maven-3.8.6\bin\..
        Java version: 1.8.0_261, vendor: Oracle Corporation, runtime: C:\Program Files\Java\jdk1.8.0_261\jre
        Default locale: en_US, platform encoding: Cp1252
        OS name: "windows 10", version: "10.0", arch: "amd64", family: "windows"

        C:\Users\Asus>echo %MAVEN_HOME%
        C:\Users\Asus\soft\apache-maven-3.8.6

        C:\Users\Asus>
The mvn command is a direct shortcut to the mvn.bat batch file. This is the main idea behind adding the bin folder to the PATH environment variable.
As shown above, the command indeed displays the Maven version, Maven bin folder, Java version, and operating system information.
Common Issues
Here, we are going to put the focus on the common problems that we may face while installing Maven.
1) mvn is not recognized as an internal or external command
        C:\Users\Asus>mvn --version
        'mvn' is not recognized as an internal or external command,
        operable program or batch file.
This means that the installation is not done properly, make sure %MAVEN_HOME%\bin is prepended to the PATH variable the right way.
2) JAVA_HOME environment variable is not defined correctly
        C:\Users\Asus>mvn --version
        The JAVA_HOME environment variable is not defined correctly
        This environment variable is needed to run this program
        NB: JAVA_HOME should point to a JDK not a JRE
This simply means that JDK is not installed and the JAVA_HOME variable is not properly configured.
3) Error: Could not find or load main class org.codehaus.plexus.classworlds.launcher.Launcher
In this case, you need to download the binary zip archive file, instead of the source zip archive.
Conclusion
In this short article, we walked you through the steps of how to install Maven on Windows 10.
Please feel free to reach out to me if you encounter any issues.