The Ultimate Guide to Java Update Check
In this quick tutorial, we’ll take a close look at how to check for Java updates.
We’ll get started with some insight into how to check the Java version. Then, we’ll explain in detail how to perform a Java update check. Lastly, we’ll shed light on how to disable Java automatic updates.
Java Update on Windows 10
In general, when we install Java on Windows 10, another small program that checks and tracks Java updates get installed too.
As a matter of fact, there are many simple methods that we can use to check whether there is a new Java update.
However, before checking for Java updates, we may need to know which version is installed on our machine. So, let’s see together how to do that!
How to check Java version
The most simple way to check the current installed Java version is to use the command prompt.
First, we need to open the command prompt. To do that, we need to type cmd in the search bar:
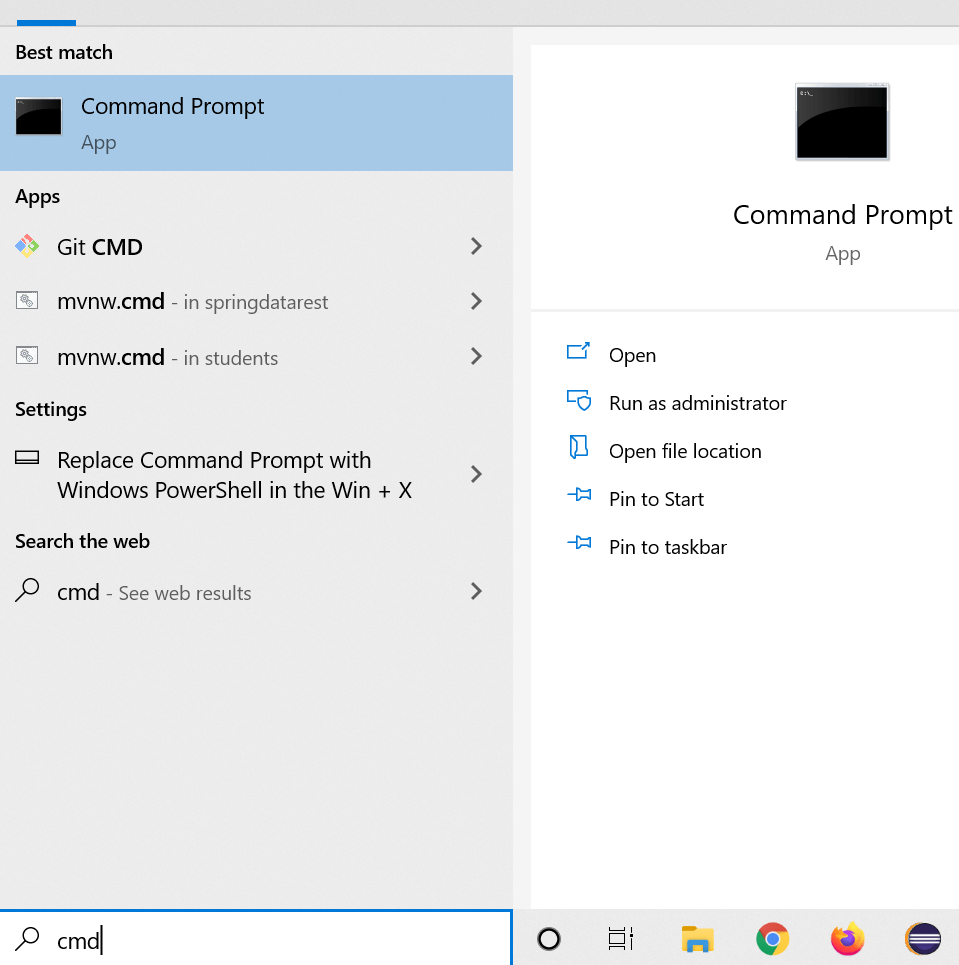
Then, we have to type: java -version in the command prompt:
        Microsoft Windows [Version 10.0.19041.572]
        (c) 2020 Microsoft Corporation. All rights reserved.

        C:\Users\Asus>java -version
        java version "1.8.0_261"
        Java(TM) SE Runtime Environment (build 1.8.0_261-b12)
        Java HotSpot(TM) 64-Bit Server VM (build 25.261-b12, mixed mode)
        C:\Users\Asus>
As we can see, the command line java -version displays the current Java version that is installed on our computers.
Now, let’s dig deeper to see how to perform a Java update check.
How Do I Check for a Java Update?
The process of checking Java update on windows 10 is pretty simple. All we need to do is follow the following steps:
First, we need to click on Show hidden icons - a special icon that we can find in the bottom right corner of the window.
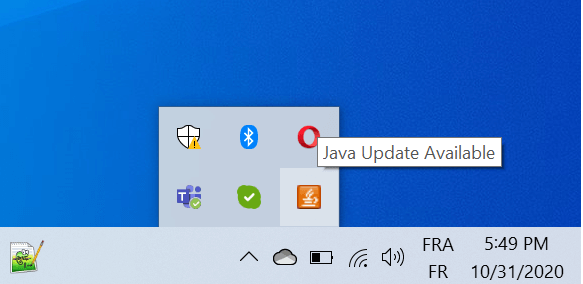
Then, we need to click on Java Update Available – This will open the following window:

Furthermore, as shown above, the windows will tell us everything we need to know. We can click on the update button to continue and get more information about the available Java update.
Now, let’s see how we can use another method to accomplish the same thing.
Firstly, we can type Check For Updates on the search bar. Then a new window named Java Control Panel will open for us.
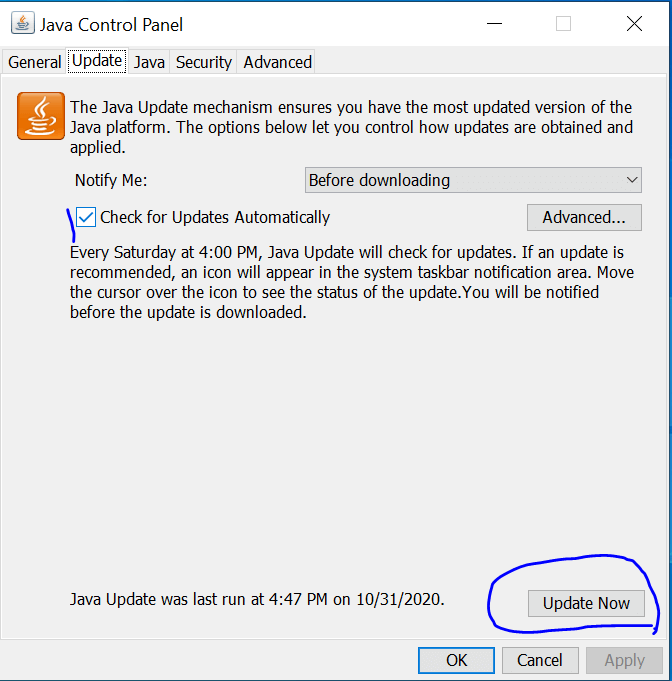
Then, we can go to the update tab to check if there is a new Java update. Easy, peasy right?
We can click on the update button if we want to start the process of updating Java. Once done, our Java will be upgraded to a new version.
Next, we’re going to explain a third method that we can use to check Java updates.
First thing we need to do is open the https://www.java.com/en/ URL in our favorite browser.
Then, we click on the big Java Download button. This will redirect us to a new page where we can find all the information about the last Java version and its release date.
We can also visit the following URL: https://www.java.com/en/download/uninstalltool.jsp to check for Java versions and updates on our computer.
Why is it Important to Check Java Updates?
In general, software updates are important because they provide fixes and improvements, and even patches to security vulnerabilities.
Since Java can be a critical component for many applications that we may install on our computers, then we need to make sure to update it continuously.
Fortunately to us, Java Update is a handy feature that tracks new Java releases. It periodically checks for new versions to keep your Windows computer up-to-date.
Bear in mind that we need to update Java to the newer version to prevent unwanted security issues and enhance performance.
You can refer to this URL https://java.com/en/download/help/java_update.html to explore more about how Java auto-update works.
How to Turn off Java Automatic Update?
Sometimes we may need to disable Java updates - I know what you’re going to say: WHY? This can generate security issues :) - Yes and you’re right!
Keep in mind that it’s highly recommended that you do not turn off automatic updates. However, if you want that do it at your own risk.
Java provides a convenient and simple way to disable automatic periodic Java update checks.
First, we need to open the Java Control Panel window, then navigate to the Update tab, and make sure that Automatically check for updates checkbox is unchecked:
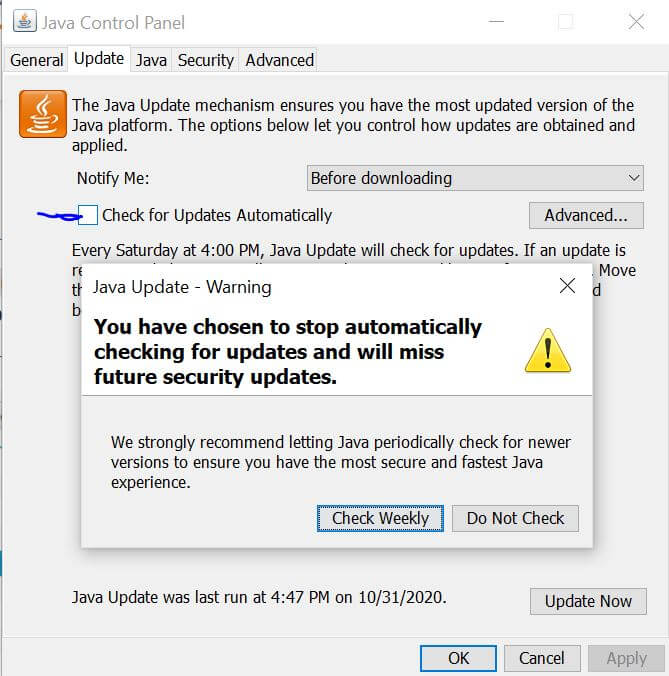
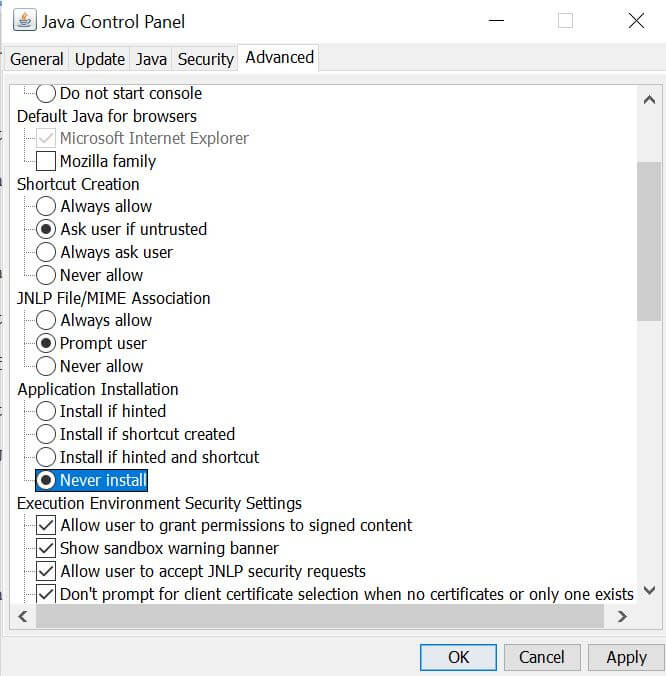
Next, we navigate to the Advanced tab and search for the Application Installation. We need to make sure that the Never install value is selected.
Conclusion
To sum it up, we have explained how to perform a Java update check step by step. Along the way, we have showcased how to check the Java version on Windows 10.
We hope you enjoyed reading this article and learned something new from it.
Stay tuned :)