How to Install Kafka on Windows 10
In this short tutorial, we are going to shed light on how to install kafka on windows 10.
First, we will start with some background on what is kafka. Then we are going to explain how to install it on windows 10.
Finally, we will showcase how to run it and create our first kafka topic.
What is Apache Kafka?
Kafka is a distributed event streaming system capable of handling a large amount of data in a highly flexible, scalable, and fault-tolerant manner.
In short, Kafka can be used to:
To publish and subscribe messages in a highly scalable way.
To store streams of events durably with zero data loss.
To process a large amount of data in real-time.
These are the main backbones that form the Kafka system:
Cluster: typically consists of a set of broker servers running kafka
Broker: receives data from producers and handles all requests from consumers
Topics: all messages are organized into topics in kafka. They refer to a category with multiple partitions
Producer: publishes messages to a topic within a broker
Consumer: consumes data from topics
How to Install Kafka on Windows 10
Now that we know what Kafka is, let’s see how to install it on Windows 10.
As a matter of fact, installing Kafka is a piece of cake and does not require any kind of programming skills.
Firstly, we need to download the latest release. In this tutorial, we will be using kafka 2.8.1. However, we can always find the latest version here.
Secondarily, let’s extract the downloaded .tgz file:

That’s all! As we can see, the process of installing kafka on windows is pretty simple and does not take long.
How to Run Kafka
Simply put, kafka uses a special tool called ZooKeeper to track cluster status and manage service discovery.
So, to start kafka, we need to run ZooKeeper server first alongside the kafka server.

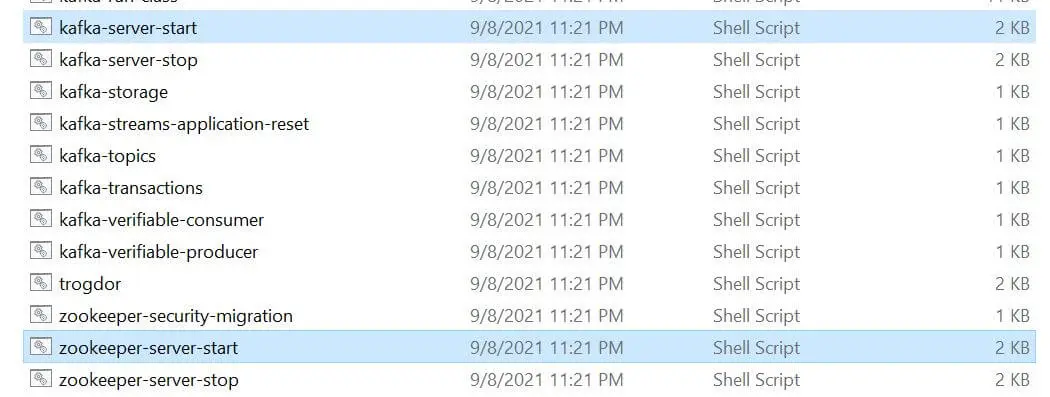
To do that, open a terminal, navigate to kafka_2.12-2.8.1\bin\windows, and execute zookeeper-server-start.bat:
        C:\Users\Asus>cd C:\Users\Asus\kafka\kafka_2.12-2.8.1\bin\windows
        C:\Users\Asus\kafka\kafka_2.12-2.8.1\bin\windows>zookeeper-server-start.bat .\..\..\config\zookeeper.properties
        INFO Reading configuration from: .\..\..\config\zookeeper.properties (org.apache.zookeeper.server.quorum.QuorumPeerConfig)
        WARN \tmp\zookeeper is relative. Prepend .\ to indicate that you're sure! (org.apache.zookeeper.server.quorum.QuorumPeerConfig)
        INFO clientPortAddress is 0.0.0.0:2181 (org.apache.zookeeper.server.quorum.QuorumPeerConfig)
        ...
        INFO Starting server (org.apache.zookeeper.server.ZooKeeperServerMain)
        ...
        INFO zookeeper.snapshotSizeFactor = 0.33 (org.apache.zookeeper.server.ZKDatabase)
        ...
zookeeper.properties contains the configuration properties needed to start the ZooKeeper.
We can for example change the dataDir property to point to another directory instead of the default one /tmp/zookeeper:
        ...
        dataDir=./../../logs
        clientPort=2181
        maxClientCnxns=0
        ...
Now, it’s time to start the kafka server, open another terminal and type:
        C:\Users\Asus\kafka\kafka_2.12-2.8.1\bin\windows>kafka-server-start.bat .\..\..\config\server.properties
        INFO Registered kafka:type=kafka.Log4jController MBean (kafka.utils.Log4jControllerRegistration$)
        ...
        INFO starting (kafka.server.KafkaServer)
        INFO Connecting to zookeeper on localhost:2181 (kafka.server.KafkaServer)
        ...
        INFO Client environment:java.home=C:\Program Files\Java\jdk-16.0.1 (org.apache.zookeeper.ZooKeeper)
        ...
        INFO [ZooKeeperClient Kafka server] Connected. (kafka.zookeeper.ZooKeeperClient)
        ...
        INFO Kafka version: 2.8.1 (org.apache.kafka.common.utils.AppInfoParser)
        INFO Kafka commitId: 839b886f9b732b15 (org.apache.kafka.common.utils.AppInfoParser)
        INFO Kafka startTimeMs: 1636844422016 (org.apache.kafka.common.utils.AppInfoParser)
        INFO [KafkaServer id=0] started (kafka.server.KafkaServer)
        ...
As we can see, our kafka server is started and connected to ZooKeeper server on localhost:2181.
Please bear in mind that kafka requires Java 8+. As shown above in the log, we have jdk-16.0.1 installed.
Our article on how to install Java on windows 10 does a great job in convering this topic.
Create a New Kafka Topic
Now that our environment is up and running, let’s see how to create a kafka topic.
In kafka, messages are organized into topics. A topic is similar to a directory, and messages are simply files inside that directory.
In order to create a new topic, open a terminal and type:
        C:\Users\Asus\kafka\kafka_2.12-2.8.1\bin\windows>kafka-topics.bat --create --topic my-first-topic --bootstrap-server localhost:9092
        Created topic my-first-topic.
As we can see, we used kafka-topics.bat with the –create argument to create our first topic.
Simarily, we can use the –describe flag to display information such as the partition count about a specific topic:
        C:\Users\Asus\kafka\kafka_2.12-2.8.1\bin\windows>kafka-topics.bat --describe --topic my-first-topic --bootstrap-server localhost:9092
        Topic: my-first-topic   TopicId: PH1sGl3_RweqDq4Uf1lJOw PartitionCount: 1       ReplicationFactor: 1    Configs: segment.bytes=1073741824
        Topic: my-first-topic   Partition: 0    Leader: 0       Replicas: 0     Isr: 0
Next, let’s see how to write some messages on our topic.
Create a Kafka Producer
In short, a producer, as the name implies, produces messages and publishes them to a kafka topic. Once the brokers receive the published messages, they store them in a durable and fault-tolerant way.
To publish data to my-first-topic, we need to run the kafka console producer:
        C:\Users\Asus\kafka\kafka_2.12-2.8.1\bin\windows>kafka-console-producer.bat --topic my-first-topic --bootstrap-server localhost:9092
        >Hello
        >Kafka
        >I'm
        >Azhwani
Please bear in mind that each line is considered a new message. We can type Ctrl-C to stop the producer.
Create a Kafka Consumer
Now, we are going to show how to read all the messages stored in our kafka topic: my-first-topic.
To do so, we need to run the consumer console. Again, let’s open a new command prompt and type:
        C:\Users\Asus\kafka\kafka_2.12-2.8.1\bin\windows>kafka-console-consumer.bat --topic my-first-topic --from-beginning --bootstrap-server localhost:9092
        Hello
        Kafka
        I'm
        Azhwani
Please note that –from-beginning flag tells the consumer to read all the messages from the beginning. We can use –offset to read the stored data starting from a specific offset.
Similarly, we can press Ctrl-C to stop the current kafka consumer.
How to Stop Kafka
In general, we can use Ctrl-C to tear down the kafka environment. Ctrl-C allows us to stop:
The producer console
The consumer console
The Kafka server
The ZooKeeper server
Another important thing to mention is that deleting the /tmp/zookeeper and /tmp/kafka-logs directories helps clear our local environment data.
Conclusion
To sum it up, in this article we have explained what is kafka and how to install it on windows 10.
Along the way, we have seen how to create a new topic, how to publish messages, and how to read them.
