How to Install Java JDK on Windows 10, Mac, and Ubuntu
In this quick tutorial, we’re going to cover in-depth how to install Java JDK.
We’ll first start with how to download and install JDK on Windows 10. Then, we’ll highlight how to accomplish the same thing in Mac.
Lastly, we’re going to explain how to install JDK on Ubuntu.
So, let’s get started!
What is JDK?
JDK is the abbreviation of the Java Development Kit, a package that offers an environment for developing, debugging, and monitoring Java-based applications.
In short, JDK provides a set of ready-to-use tools that we can use to build java programs.
Before installing JDK, we need first to check if it’s already installed (or not) on our operating system.
Now, let’s get down the rabbit hole and see how to install Java JDK on Windows 10, Mac, and Ubuntu.
How to Install Java JDK on Windows 10
First thing first, let’s explore how to check whether Java JDK is already installed on our windows 10 machine.
Go to the search bar and type CMD
Open the command prompt from the search result
When the command prompt opens, type this command: javac –version.
If the response is something like:
        C:\Users\Asus>javac -version
        'javac' is not recognized as an internal or external command,
        operable program or batch file.
        C:\Users\Asus>
Then, this simply means that JDK is not installed on your Windows 10.
Obviously, we need to download the JDK package before starting the installation process. To do that, please refer to the following article: How to install Java on Windows 10.
Finally, we need to add the JDK bin directory to the PATH. The PATH variable points to the location of the executables: javac and java.
Please bear in mind that if we don’t add JDK to the PATH, then we need to specify the full path for the executables every time we want to compile or run a Java program.
In other words, to compile myProgram.java, we need to run:
C:\Program Files\Java\jdk1.8.0_261\bin\javac myProgram.java
Instead of:
javac myProgram.java
Install JDK on Mac
First, we need to verify if JDK has been already installed on our Mac. To do so, follow these steps:
Click the Launchpad icon, then type Terminal in the search field
Open the terminal
Type the javac -version command
If you got command not found message, then JDK is not installed.
In case the JDK is not installed, then we need to download it first:
Go to http://www.oracle.com/technetwork/java/javase/downloads/index.html to download the last version of the JDK
Accept the license agreement and download the latest JDK version for your Mac OS
The process of installing Java JDK on Mac is pretty easy and straightforward:
Open the .dmg file to start the installation wizard
Click Continue and then Install
Enter your credentials and click Install Software
Once the installation is completed, a confirmation alert will be displayed
After the installation, you will be asked to keep or delete the package file. (You can choose the delete option to save some disk space)
Install JDK on Ubuntu
The first step is always checking whether JDK is installed or not. To do so, type the following command lines:
        [root@devwithus ~]$ javac -version
        javac 1.8.0_262
        [root@devwithus ~]$ java -version
        openjdk version "1.8.0_262"
        OpenJDK Runtime Environment (build 1.8.0_262-b10)
        OpenJDK 64-Bit Server VM (build 25.262-b10, mixed mode)
        [abdioun@devwithus ~]$
As shown above, JDK is already installed on my Ubuntu machine.
Installing the Default OpenJDK
The easiest option for installing Java JDK on Ubuntu is to install the default OpenJDK which is an open-source implementation of the Java SE Platform Edition.
Before starting the installation process, we need to update the apt package. Open a terminal (Ctrl+Alt+T) and type:
[root@devwithus ~]$ apt update
Next, install the default Java OpenJDK package with:
[root@devwithus ~]$ apt install default-jdk
That’s it, the above command will simply install Java 11 or a newer version. Congratulations, you successfully installed OpenJDK on Ubuntu.
Please keep in mind that we can install a specific version - for example Open JDK 8 - instead of the default OpenJDK 11.
To do so, type the following command line:
[root@devwithus ~]$ apt install openjdk-8-jdk
Now, let’s take a look at how to install the Oracle’s official JDK.
Installing Oracle JDK
Starting with Java 11, Oracle JDK is licensed under Oracle Binary Code License Agreement. This means that we can no longer use Java for business or production purposes without a commercial license.
To install the official Oracle JDK, we first have to create an Oracle account to download the JDK version we need.
Please keep in mind that we need a third-party installation script from here, since we can’t install JDK directly through package managers.
One another important thing to mention is that the downloaded JDK version must match the third-party installation script version.
So firstly, we need to add the PPA repository using the command below:
        [root@devwithus ~]$ apt install software-properties-common
        [root@devwithus ~]$ apt update
        [root@devwithus ~]$ add-apt-repository ppa:linuxuprising/java
Once the PPA repository is added, we can proceed to install Java JDK on Ubuntu.
Secondarily, let’s download JDK from the Oracle official downloads page. Find the version you need and download it.
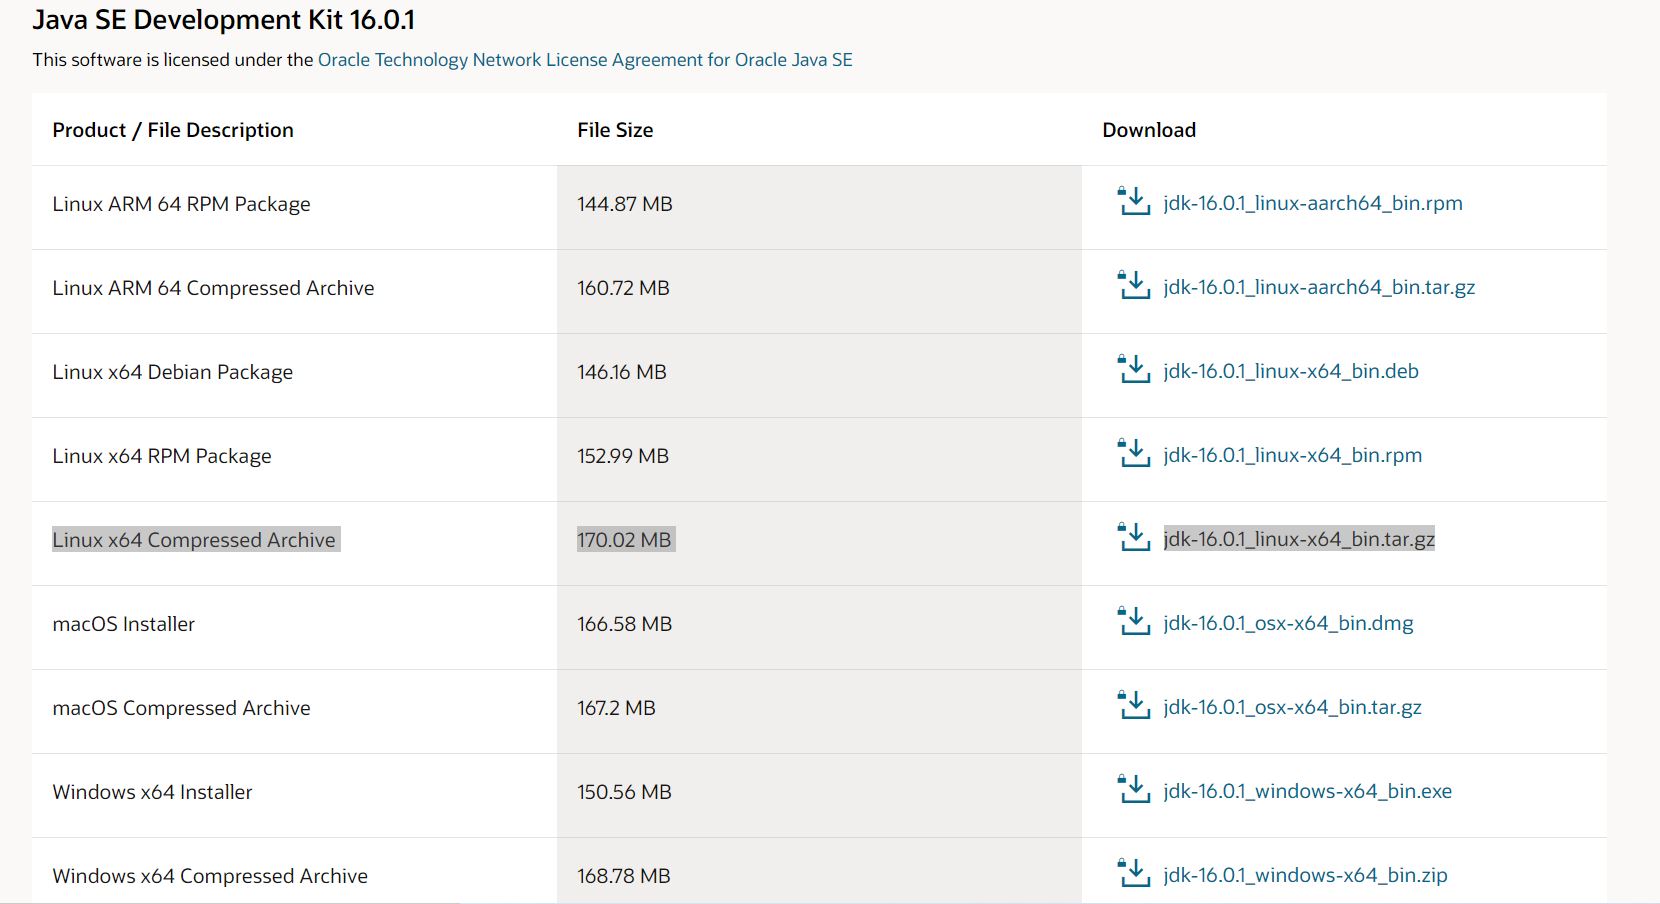
At the time I’m writing this article, the latest JDK version is 16.0.1. So, let’s click on jdk-16.0.1_linux-x64_bin.tar.gz package for Linux.
Next, we need to transfer the downloaded file to our Ubuntu server using scp command:
scp path-to-file/jdk-16.0.1_linux-x64_bin.tar.gz root@devwithus:~
Now, let’s move jdk-16.0.1_linux-x64_bin.tar.gz to the /var/cache/oracle-jdk11-installer-local directory.
        [root@devwithus ~]$ mkdir -p /var/cache/oracle-jdk11-installer-local/
        [root@devwithus ~]$ cp jdk-16.0.1_linux-x64_bin.tar.gz /var/cache/oracle-jdk11-installer-local/
Finally, we’ll install Oracle JDK with the help of the following command line:
[root@devwithus ~]$ apt install oracle-java11-installer-local
The installer will extract the JDK package and install it for us. Cool, right?
Conclusion
In this quick tutorial, we investigated how to install Java JDK on Windows 10 and Mac.
Along the way, we also saw how to install and set up Oracle JDK on Ubuntu.